Delicious Vintage Cookie Molds That Will Take You Back in Time

Indulge in Childhood Memories with Scottish Shortbread Cookies

Ingredients:
- 1 cup unsalted butter, softened
- 1/2 cup granulated sugar
- 2 cups all-purpose flour
- 1/4 teaspoon salt
Instructions:
- Preheat oven to 325°F (165°C).
- In a mixing bowl, cream together the softened butter and granulated sugar until light and fluffy.
- Gradually add the flour and salt, mixing well after each addition.
- Roll out the dough onto a floured surface and use your favorite Brown Bag Cookie Art shortbread pan to press the dough in.
- Transfer the dough to a parchment-lined baking sheet.
- Bake for approximately 20 minutes or until the edges are golden brown.
- Allow the cookies to cool on a wire rack before enjoying.
Adorn Your Kitchen with Beautiful Ceramic Cookie Molds
How to Prepare:
Creating delicious cookies with ceramic cookie molds is a breeze. Follow these simple steps:
- Preheat your oven to the recommended temperature listed on the mold’s instructions.
- Prepare the cookie dough according to your favorite recipe or use the provided recipes with the mold.
- Press the dough into the mold, ensuring it reaches all the intricate details.
- Carefully remove the dough from the mold and place it onto a baking sheet.
- Bake according to the recipe instructions or until the edges are golden brown.
- Allow the cookies to cool before serving or decorating as desired.
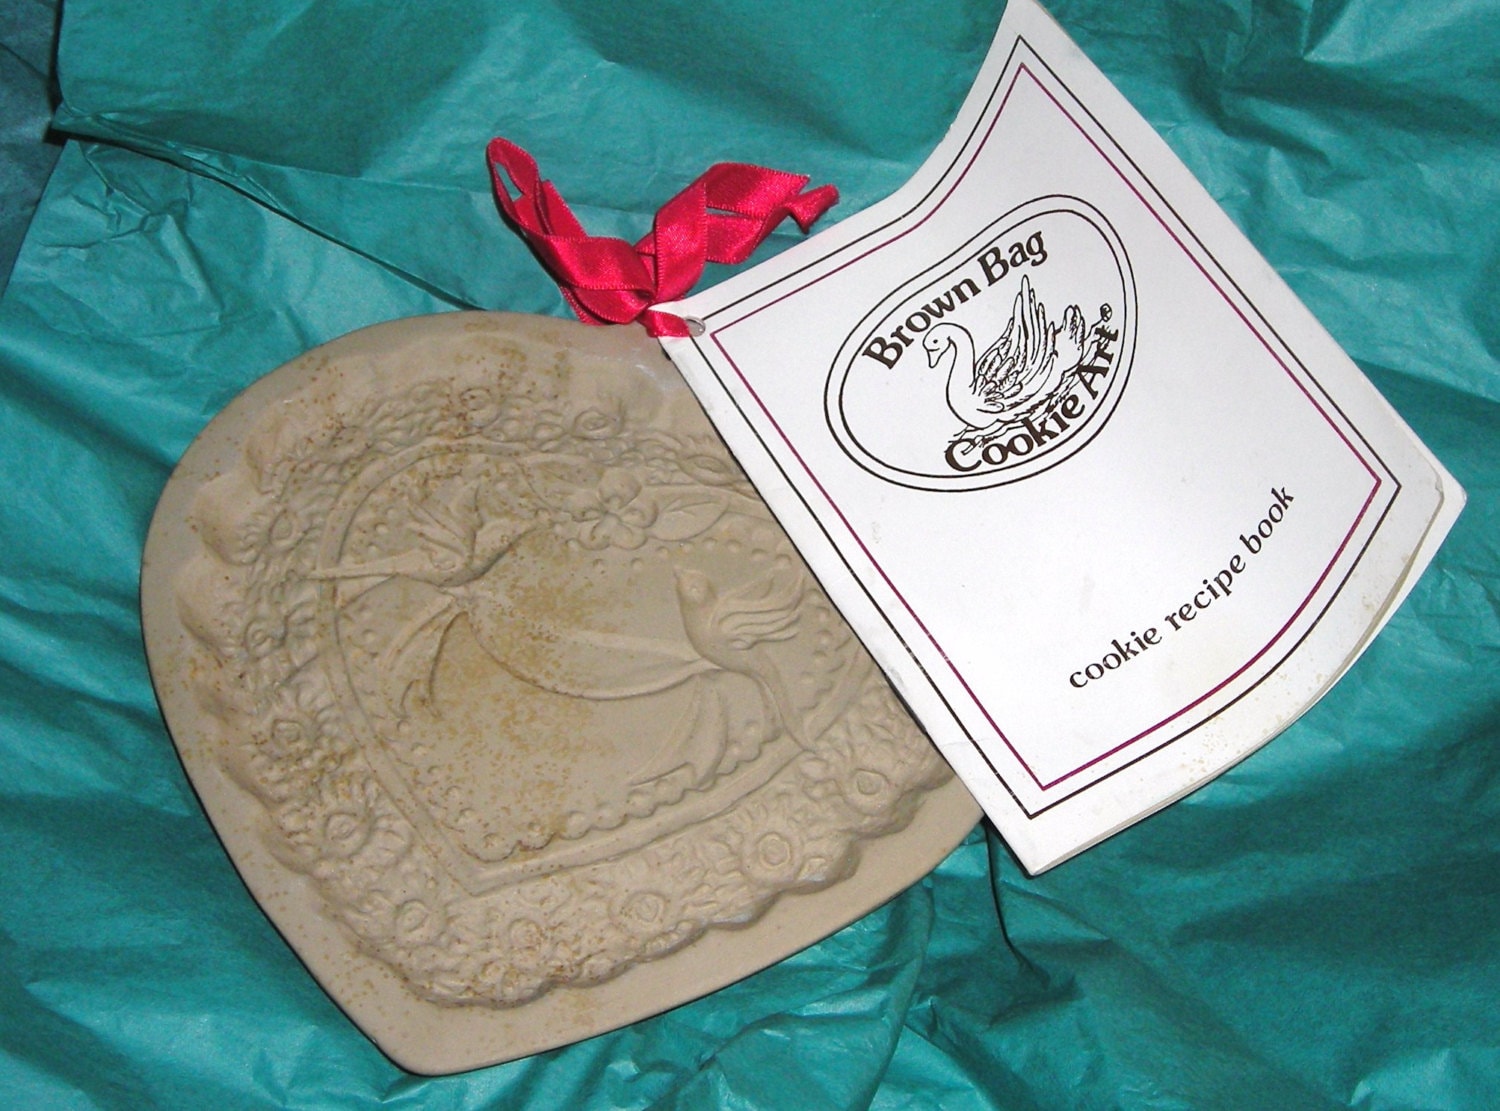
Discover Charming Vintage Brown Bag Cookie Molds

Preparation Time: 45 minutes
Savor the nostalgia of vintage baking with these easy-to-use and beautifully crafted brown bag cookie molds. Not only will they transport you back to simpler times, but they will also bring warmth and charm to your kitchen.
Impress Your Loved Ones with Heart-Shaped Cookies

Servings: 12 cookies
Ingredients:
- 2 cups all-purpose flour
- 1/2 teaspoon baking powder
- 1/4 teaspoon salt
- 3/4 cup unsalted butter, softened
- 1 cup granulated sugar
- 1 large egg
- 1 teaspoon vanilla extract
Instructions:
- In a mixing bowl, whisk together the flour, baking powder, and salt.
- In a separate bowl, cream together the softened butter and sugar until light and fluffy.
- Beat in the egg and vanilla extract until well combined.
- Gradually add the dry ingredients to the wet ingredients, mixing until just combined.
- Divide the dough in half, wrap each half in plastic wrap, and refrigerate for at least 1 hour.
- Preheat the oven to 350°F (175°C).
- Roll out the chilled dough to a thickness of approximately 1/4 inch and cut out heart shapes using the Brown Bag Cookie Mold.
- Place the cookies on a parchment-lined baking sheet and bake for 10-12 minutes or until the edges are lightly golden.
- Allow the cookies to cool completely before serving or decorating.
Add a Touch of Whimsy with Bunny Rabbit Cookies

Ingredients:
- 1 1/2 cups all-purpose flour
- 1/2 teaspoon baking powder
- 1/4 teaspoon salt
- 1/2 cup unsalted butter, softened
- 1 cup granulated sugar
- 1 large egg
- 1 teaspoon vanilla extract
Instructions:
- In a mixing bowl, whisk together the flour, baking powder, and salt.
- In another bowl, cream together the softened butter and sugar until light and fluffy.
- Beat in the egg and vanilla extract until well combined.
- Gradually add the dry ingredients to the wet ingredients, mixing until just combined.
- Divide the dough in half, wrap each half in plastic wrap, and refrigerate for at least 1 hour.
- Preheat the oven to 350°F (175°C).
- Roll out the chilled dough to a thickness of approximately 1/4 inch and use the adorable Bunny Rabbit Cookie Mold to press the dough in.
- Place the cookies on a parchment-lined baking sheet, ensuring they are evenly spaced apart.
- Bake for 10-12 minutes or until the edges are lightly golden.
- Allow the cookies to cool before enjoying!
Add Elegance to Tea Time with Butterfly Cookies

Preparation Time: 1 hour
Ingredients:
- 2 cups all-purpose flour
- 1/2 teaspoon baking powder
- 1/4 teaspoon salt
- 3/4 cup unsalted butter, softened
- 1 cup granulated sugar
- 1 large egg
- 1 teaspoon vanilla extract
Instructions:
- In a mixing bowl, whisk together the flour, baking powder, and salt.
- In a separate bowl, cream together the softened butter and sugar until light and fluffy.
- Add the egg and vanilla extract to the butter mixture, beating well to combine.
- Gradually add the dry ingredients to the wet ingredients, mixing until just combined.
- Divide the dough in half, wrap each half in plastic wrap, and refrigerate for at least 1 hour.
- Preheat the oven to 350°F (175°C).
- Roll out the chilled dough to a thickness of approximately 1/4 inch and use the elegant Butterfly Cookie Mold to press the dough in.
- Place the cookies on a parchment-lined baking sheet and bake for 10-12 minutes or until the edges are lightly golden.
- Allow the cookies to cool before serving or decorating as desired.
Elevate Your Baking with Vintage Ceramic Shortbread Baking Pan

Preparation Time: 30 minutes
Ingredients:
- 2 cups all-purpose flour
- 1/2 cup granulated sugar
- 1/2 teaspoon salt
- 1 cup unsalted butter, softened
Instructions:
- In a mixing bowl, whisk together the flour, sugar, and salt.
- Cut the softened butter into small pieces and add it to the dry ingredients.
- Using your fingers or a pastry cutter, mix the butter into the dry ingredients until the mixture resembles coarse crumbs.
- Transfer the mixture to the vintage ceramic shortbread baking pan, pressing it down evenly.
- Preheat the oven to 325°F (165°C).
- Bake the shortbread for approximately 25-30 minutes or until lightly golden.
- Allow the shortbread to cool completely in the pan before removing and serving.
Unleash Your Creativity with Brown Bag Cookie Mold Crafts

Brown Bag Cookie Molds open up a world of crafting possibilities. Apart from creating delicious cookies, they can be used for various other crafts. Let your imagination shine with these innovative ideas:
- Create handmade soaps using the molds to add delightful designs.
- Make decorative paperweights or trinket dishes by pouring resin into the molds.
- Design unique candles by using the molds as a form for melted wax.
- Use clay or playdough to replicate the designs and create charming figurines or fridge magnets.
- Produce lovely plaster or cement ornaments for your garden or home decor.
Enjoy the Irresistible Magic of Brown Bag Cookie Molds
Brown Bag Cookie Art brings a sense of nostalgia and warmth to your baking experience. By incorporating these vintage cookie molds into your repertoire, you can transport yourself back to simpler times while simultaneously creating delectable treats for your loved ones. Whether it’s classic Scottish shortbread or whimsical butterfly cookies, these molds make baking an enchanting affair. So, dust off your apron, gather your ingredients, and embark on a delightful journey with Brown Bag Cookie Art!
References:
- Source: https:\/\/www.etsy.com
- Image Source: Pinterest